Ferrari 250 gto
01. BUILDING THE BUCK
Using Fusion 360 we sliced a model of the Ferrari into a number of cross sections. We then laser cut this sections out of 6mm MDF and joined them together to create the skeleton shape of the car and the buck. To get an idea of the curves, shape and lines of the car we covered the skeleton in strips of masking tap.02.DIVIDING THE PANELS
we split up the panels among the team, trying to keep the smallest amount of pieces whilst keeping it within our skill level.I deiced to work on the left fender, highlighted in red. To get an idea of what shape and scale to cut the aluminium sheet into, wrap a piece of paper around the buck and mark the edge of the section; then use this paper as a section.
 |
| Divided Ferrari Annealed sheet of Aluminium stencil outline |
3.0 BASIC SHAPING
To get the rough shape of the car press the aluminium over the buck, this gives you an idea of where the metal wants to fold and how you should go by working it into the shape.
4.0 SHRINKING
The nose of the Ferrari all flows to one point, this means that to get a nice point you need to shrink a lot of aluminium. I did this in a few different ways.
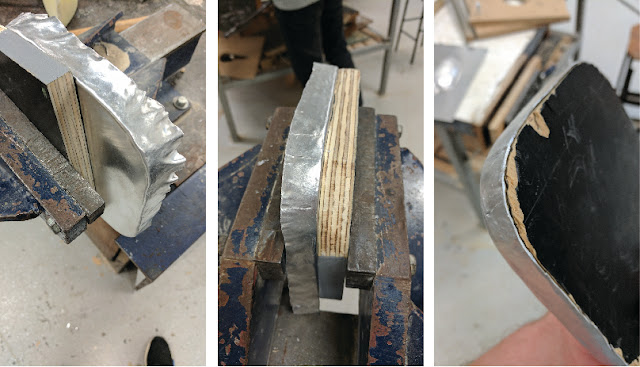
Using the grooved piece of wood and a mallet i was able to create folds around the edge of the panel, i could then use a dolly to compress the fold and shrink the metal. this curved the rest of the metal and after many repetitions i was starting to get a shape that would fit onto the buck. I also created these folds by shaping the panel over metal dollies or by just pressing the piece onto the buck.
 |
5.0 ANNEALING
After working with the metal for some time, i put it into the oven which made it more malleable and easier to work.
6.0 SMOOTHING & FLATTENING DOOR
I tried to keep the door section of the panel as smooth as possible, and used the English wheel to flatten out any bumps and give it the required curve.7.0 SMOOTHING OUT DENTS
By beating the piece over dollies that matched the curvature of the panel i was able to flatten out the bumps and create a smoother, uniform curve.
8.0 TRIMMING TO SIZE
When the piece fitted the buck and i was sure i wouldn't do any more shrinking or stretching of the metal i could trim the panel to size. using tin snips i lined the piece up with its neighbouring panels and cut it to size.
9.0 BRUSHED ALUMINIUM
to give the fender a nice brushed aluminium surface and also to make any imperfections in the surface easier to see, i used wet and dry sandpaper and water to sand down the surface. This removed all the small dents, to create a clean brushed finish.


Comments
Post a Comment